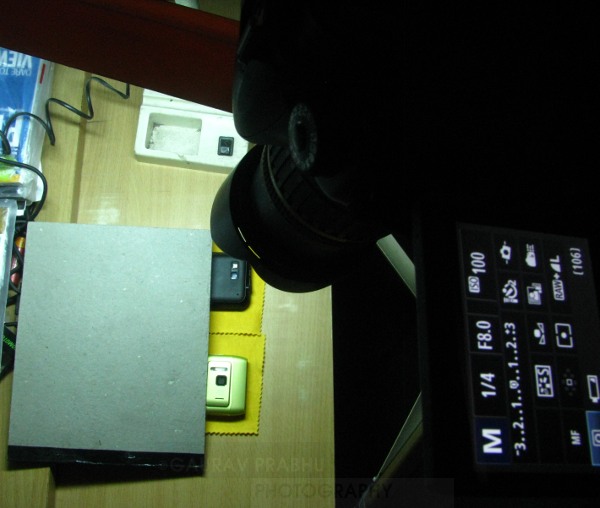
In the first part, I told you how to make a 18% Grey Card for yourself. Now, its time you pull out that grey card as I’ll teach you how to set ‘Custom White Balance’ while shooting in your Canon EOS DSLR. No need to worry, its fairly simple.

IMP - Shoot Grey Card in the SAME LIGHT
1) Hold/Place your 18% Grey Card in the desired lighting & take a photo of it. Ensure you cover the entire frame with the Grey card & expose properly(the exposure meter should be balanced in middle i.e. 0 in your viewfinder).

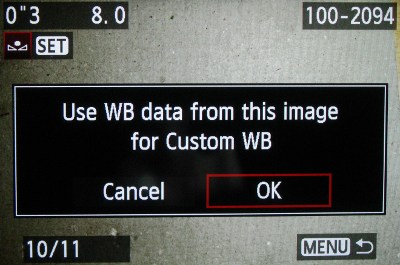
2) Navigate to the second tab(Shooting Tab 2) under MENU on your Canon EOS DSLR. Select ‘Custom White Balance’. It will now open up the saved images on your memory card & prompt you to select one. Select the one of the Grey card you shot in step #1 above. It will ask you to use White Balance data from this image for custom white balance. Select Ok.
3) Now change the White Balance to ‘Custom’ from MENU & proceed to take your photograph. The photograph should have accurate colours.
What did I say before? Don’t feel intimidated, its fairly easy to set custom white balance. Overtime, this procedure will get etched in your memory & come to you instinctively.
Now let me hand over some tips which will come handy when using Custom White Balance.
# Once you’ve set a custom white balance for a particular light type(tube-light, bulbs etc), there is no need to set the white balance using grey card again. You only need to redo the above procedure if you happen to change the lighting setup. Do remember, once you setup your custom white balance in your camera & start shooting, do NOT change the light setup. Else you’ll be plagued with improper white balance.
# It doesn’t matter if you shoot the Grey card shot in RAW or JPEG for setting Custom White Balance.
# While shooting the Grey card, using spot metering is recommended if you’re not able to get close to fill the entire frame with the Grey card.
# If you don’t have a Grey card, you can use almost any neutral grey surface to set the white balance. For this particular demonstration, I used the back of a writing pad which was grey. If the surface is not totally neutral, you may need to make fine adjustments to your white balance later on computer in-spite of using a custom white balance. [P.S : One of the reason why studio walls are Grey. Shhh… Keep this as a secret between you & me :D]
Here is the difference between Auto White Balance & Custom White Balance. Notice the shifts in black. The entire image had a blueish tinge to it when shot in AWB. Even the wooden surface did not exhibit any wood like appearance. I set a ‘Custom White Balance’ & voila! The natural colours are back. Both the shots were taken at Standard Picture Style in Canon EOS DSLR & were unedited for this demonstration.
Now your task is to try setting custom white balance, taking a picture & then taking the same picture using Auto White Balance. Compare the results from both on your computer’s monitor & see the difference. I bet, you’ll become a follower of Custom White Balance.


2 Trackbacks / Pingbacks for this entry:
[…] condition I am shooting in. When I shoot under mixed lighting conditions, I make sure to get a “Grey Card” reading from my subject. Of-course, I always shoot in RAW. Combination of these two methods give […]
LikeLike
[…] condition I am shooting in. When I shoot under mixed lighting conditions, I make sure to get a “Grey Card” reading from my subject. Of-course, I always shoot in RAW. Combination of these two methods give […]
LikeLike